How to personalize your website for ConvertKit subscriber segments
By connecting ConvertKit to ConvertFlow, you can now personalize your website for your ConvertKit subscriber segments by their ConvertKit tags and custom field values.
Using ConvertFlow's visual builder, you can design landing pages, forms, popups, surveys, quizzes, sticky bars, embedded content and more, all of which can be dynamically displayed on your website to returning ConvertKit subscriber segments based on conditions.

Dynamically displaying website content for ConvertKit subscriber segments
Once you've connected your ConvertKit account, you'll now find these ConvertKit targeting condition options:
- If person has tag in ConvertKit
- If person doesn't have tag in ConvertKit
- If custom field contains value in ConvertKit
- If custom field does NOT contain value in ConvertKit
When building a call-to-action in ConvertFlow, to display it only for a certain ConvertKit subscriber segment, head to the Launch page and you'll be able to add ConvertKit targeting conditions by clicking "Add Condition".

Click the dropdown field to select a condition type, and you'll now see there are ConvertKit targeting conditions to select from.

Select a condition type, enter any additional info needed for the automation and then click "Create Condition".
Once you've clicked to create the condition, it will then display above in the targeting conditions list for that CTA. If you want to delete it, click the "X" icon to the right of the condition.
Personalizing website content with ConvertKit subscriber fields
- Greeting returning subscribers by their first name to welcome them back to your website
- Localizing your messaging by mentioning the current subscriber's city, state and country.
- Displaying the ConvertKit subscriber's custom field interest selections in your website copy
For example: Welcome back ({person.firstname}), are you shopping for your ({person.convertkit.PET_TYPE}) today? Check out our latest ({person.convertkit.PET_TYPE}) toys...
In ConvertFlow, you can build multi-step funnel pages, forms and surveys that conditionally display personalized outcomes to people based on their progress, as well as based on their subscriber segmentation in ConvertKit.
For example, by using conditional actions, when a returning ConvertKit subscriber on your website engages with a survey, you can display a personalized outcome of that survey based on their current ConvertKit tag segmentation as well as apply a specific ConvertKit tag based on their survey response.
You can also use skip logic to tailor your funnels for returning subscribers based on their current ConvertKit segmentation. An example of this would be skipping subscribers with a certain ConvertKit tag past the email collection step of your funnel, so they don't have to re-enter their email address

Targeting Sync – How to identify your existing ConvertKit subscribers
- The visitor submits any email form
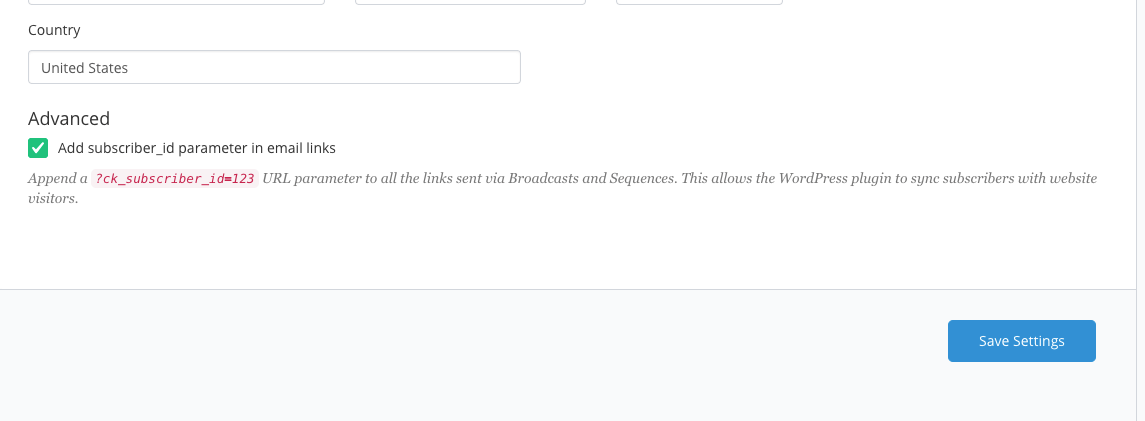
- The visitor visits your website with their subscriber ID in the URL
As you can see, combining ConvertFlow and ConvertKit together, gives you a powerful way to market to visitors on your website with the right calls-to-action at each stage of your funnel, helping you convert your audience into new and repeat customers.